
Introduction
In this guide you will learn how to set up your Forem self-host instance on AWS.
You will also set up DNS for your domain and restart Forem Traefik service to generate a TLS cert.
Prerequisites
- Forem Requirements guide
- Quick Start in Depth guide.
- An AWS account
Step 1- Installing Ansible Amazon AWS Collection
In this step you will install the necessary collection for AWS.
In your terminal make sure you are in the selfhost directory with:
cd selfhost
Install the Ansible Amazon AWS collections with:
ansible-galaxy collection install amazon.aws community.aws
Alternatively you can install all the cloud provider collections with:
ansible-galaxy collection install -r requirements.yml`
This is useful if you want to try other cloud providers.
Step 2- Installing the AWS CLI version 2 Tool
In this step you will install the AWS CLI version 2 tool. You will use this tool to configure preset variables for the AWS provisioning target
First, download the latest version of the AWS CLI: https://awscli.amazonaws.com/AWSCLIV2.pkg
Click the downloaded file to launch the installer.
Follow the prompts in the installer to install the CLI to a recommended folder.
To see if the CLI installed properly, in your terminal type:
aws --version

You can see the full instructions for AWS CLI installation on a MacOS in the AWS docs.
Step 2- Installing Pip Modules
In this step you will install Boto modules. Boto is the Amazon Web Services (AWS) Software Development Kit (SDK) for Python
In your terminal install Boto, Boto3, and Botocore pip modules with:
pip3 install boto boto3 botocore
or you can run:
pip install -r requirements.txt
Step 3- Creating an AWS IAM User
In this step you will create an AWS IAM user. You will also add permissions..
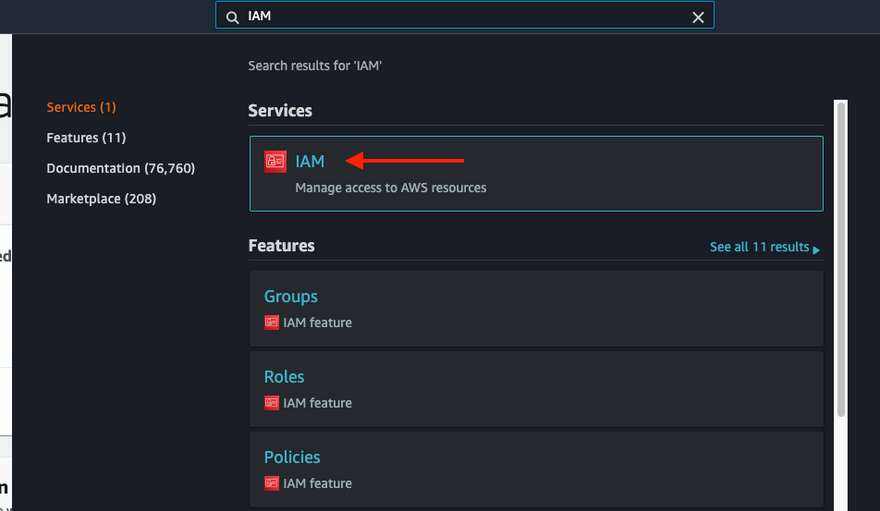
Navigate to your AWS Management Console
In the search bar type IAM and click the IAM option under "Services"
In the navigation pane, choose "Users"
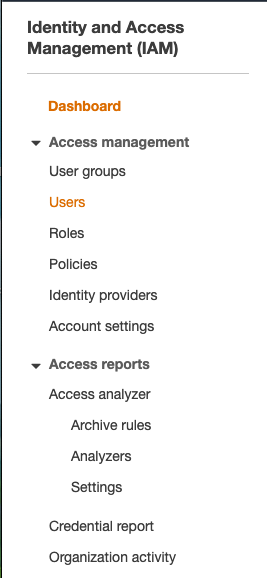
Click Add user to add a new user

At minimum, add Admin permissions to your user.
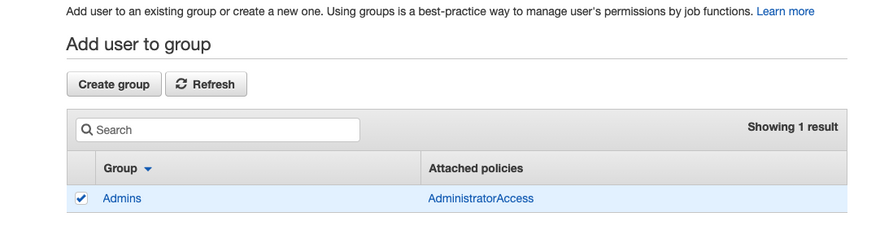
You do not need to set any tags at this time. Click Next: Review to review and then click Create user
Save your Access key ID and Secret Access Key to use in a later step.
Once your user is created, click on the user name to set up the necessary policies.

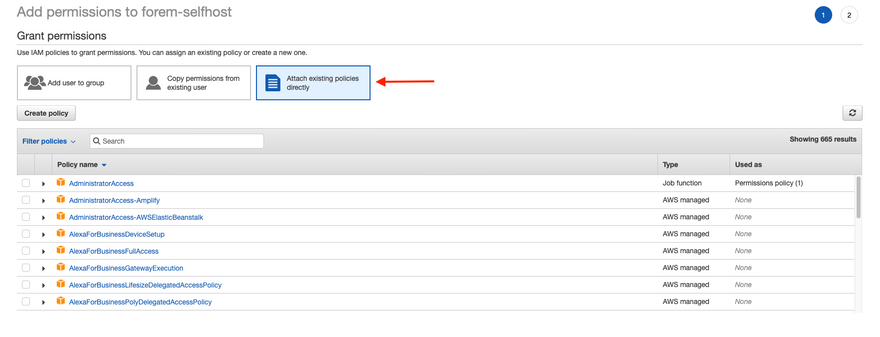
Click Add permissions
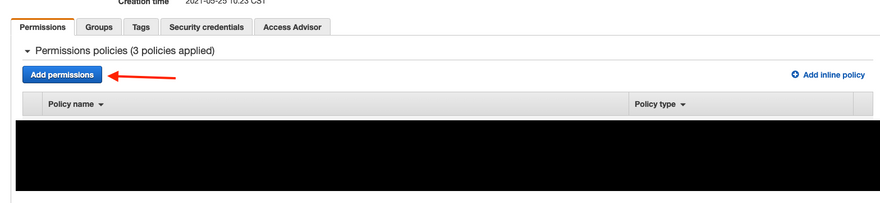
Click Attach existing policies directly.
Search for:
-
AmazonEC2FullAccessand check the box to add the policy -
AmazonS3FullAccessand check the box to add the policy -
AmazonVPCFullAccessand check the box to add the policy
Now that your IAM user is set up you can configure your profile with the AWS CLI
Step 4- Configuring forem-selfhost Profile
In this step you will configure your profile with the AWS CLI
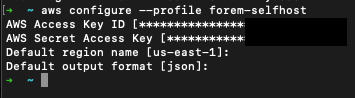
In your terminal type:
aws configure --profile forem-selfhost
When prompted add:
- Your the access key you saved previously and hit enter
- Your secret access key you saved and hit enter
Set the Default region name to: us-east-1
Set the Default output format to: json
Now you are ready to provision your AWS provider playbook.
Step 4- Provisioning the Playbook
In this step you will provision the AWS provider playbook to set up your Forem.
In your terminal type:
ansible-playbook -i inventory/forem/setup.yml playbooks/providers/aws.yml
Note: If you run into the following error:
try using this command in your terminal instead:

``` bash ansible-playbook -i inventory/forem/setup.yml playbooks/providers/aws.yml -e ansible_python_interpreter=/usr/local/bin/python3
Once you run the command, you should see an output in your terminal similar to the code below with your community's domain name and IP address.


```bash
ok: [forem] =>
  msg:
  - The public IPv4 IP Address for www.creativecommunity.club is 54.221.141.133
  - Please add an A entry for www.creativecommunity.club that points to 54.221.141.133
  - 'Example:'
  - '    www.creativecommunity.club IN A 54.221.141.133'
  - 'Once you have DNS resolving to this EC2 instance please read the Forem Admin Docs: https://forem-admin.netlify.app/'
Now you can set up an A record and point it to your public IPv4 IP Address
Step 5- Setting up DNS
In this step you will see an example of creating an A record in NameCheap and pointing it to the IP address that was outputted in the previous step. If you are not using NameCheap please refer to your own domain provider for how to set up DNS.
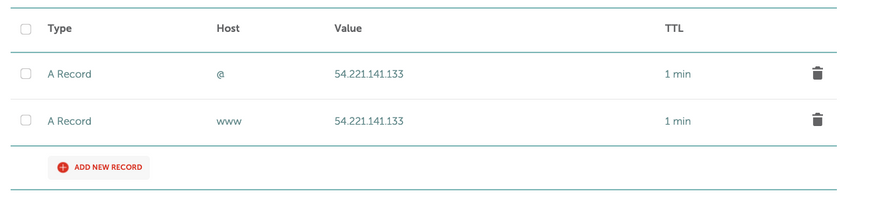
In the Advanced DNS section add an A record for your domain and subdomain.
Set the value to the IP address that was outputted after provisioning.
Set TTL to 1minute.
Step 6- Restarting Forem Traefik Service
In this step you will reset Forem Traefik Service via SSH to generate a TLS cert.
In your terminal type:
ssh core@<SERVER IP ADDRESS>
replacing with your community name.
Here is an example using a community name:

If prompted to continue, type yes into your terminal.
Once you have connected to your Forem server, type the following command:
sudo systemctl restart forem-traefik.service

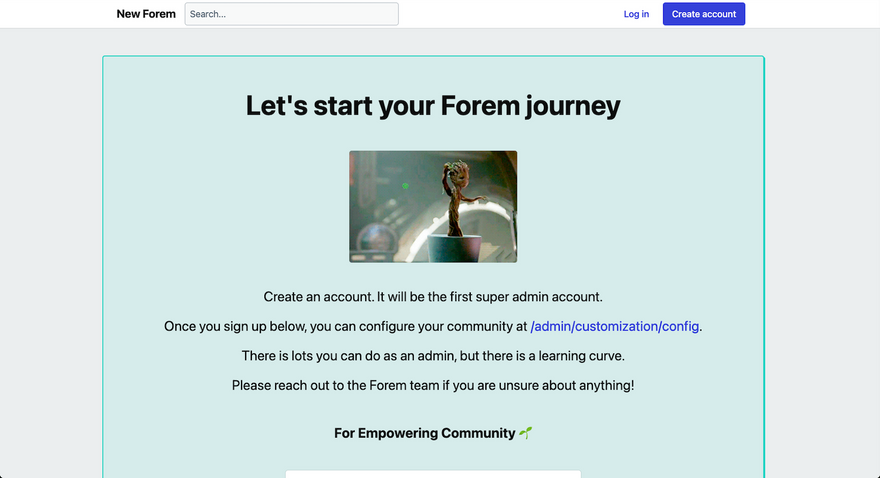
Now, you can navigate to your community domain. You should see a "Let's Start your Forem Journey" page.
You may need to wait a few minutes after running the Forem Traefik command.
Conclusion
Congratulations on setting up your first Forem!🎉
For next steps on how to configure your Forem please visit our Forem Admin Docs.


Latest comments (1)
Hello Christina
Thanks for the detail steps provided. I kept running into Ansible error at the last step
Im using AWS provider and running on docker/fedora